Generated Reports contain Inbox, Approved, Archived, Flagged, and Shared.
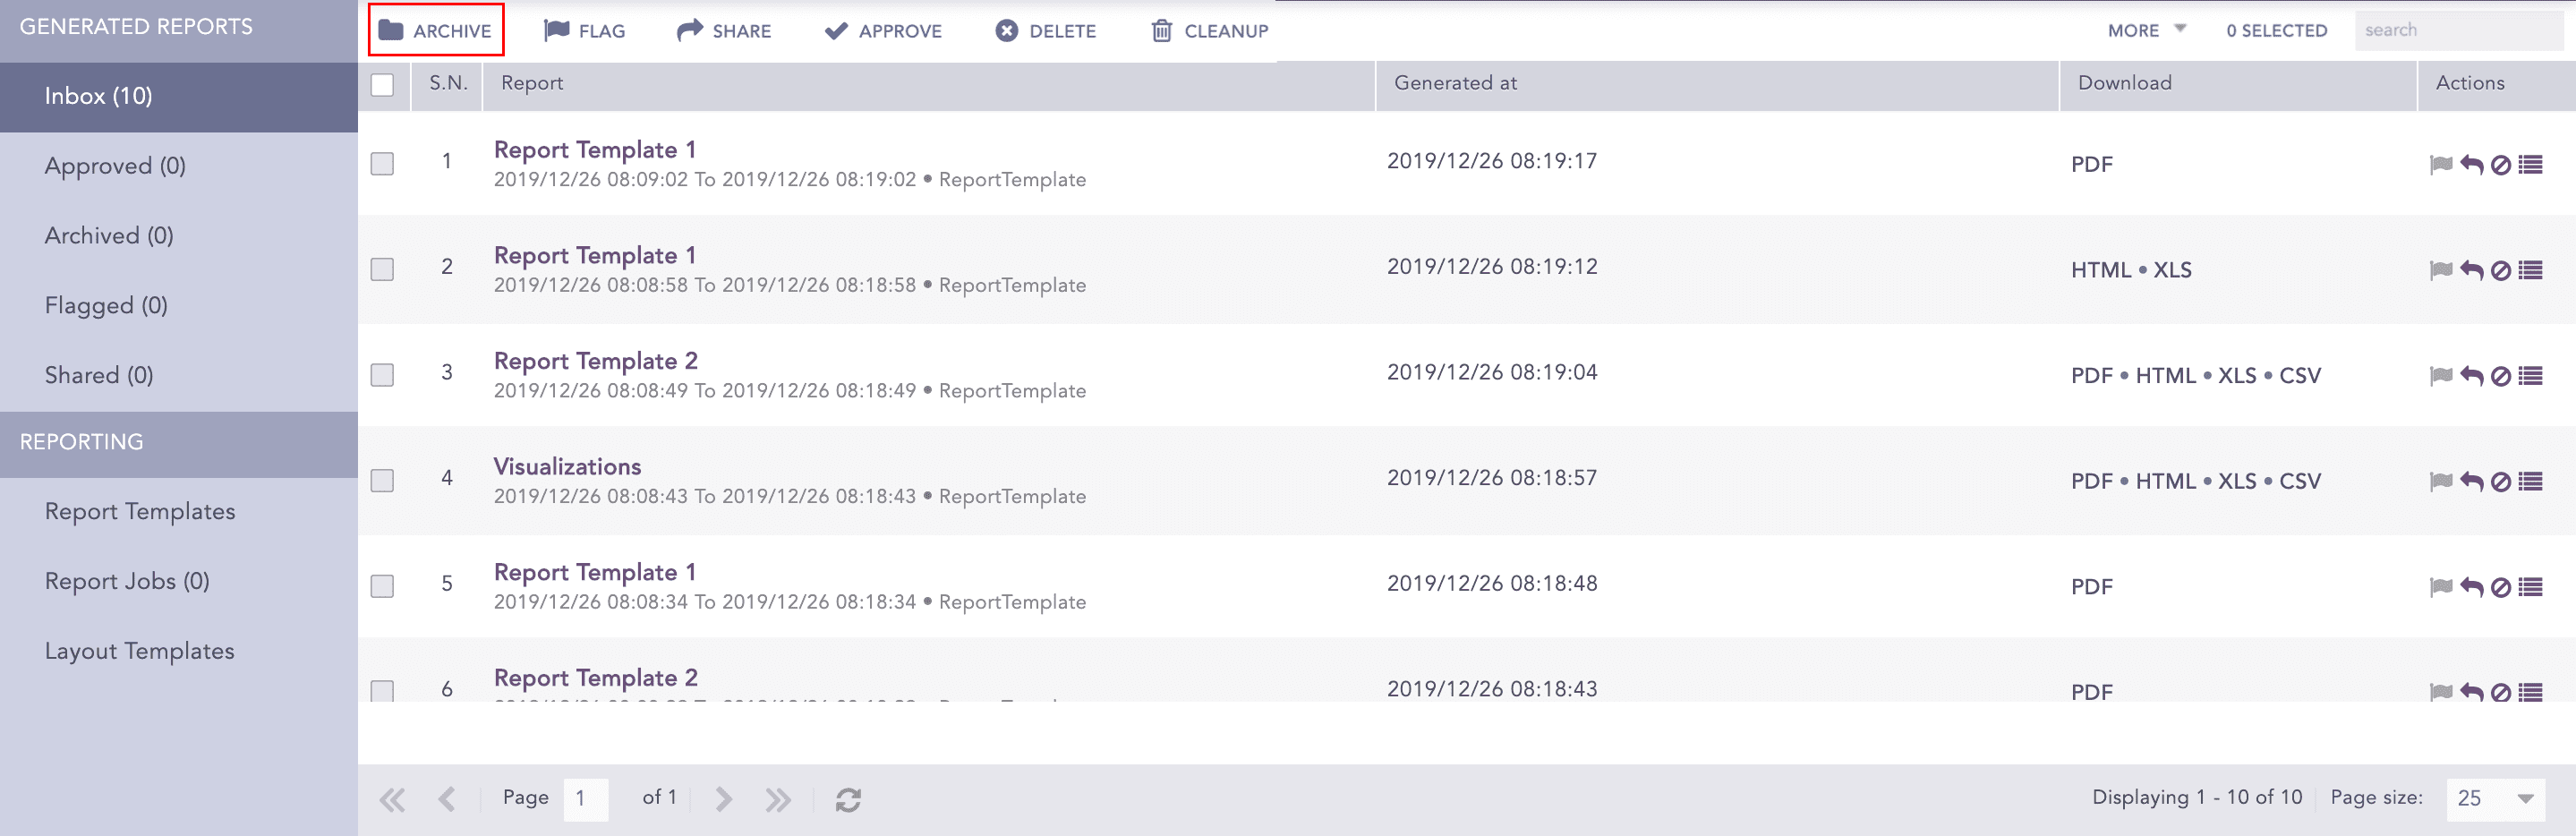
Inbox lists all the successfully generated reports. You can either approve, archive, flag, share, or delete a report from the Inbox. Report is moved into the Approved, Archived, Flagged, or Shared pages or completely deleted from Logpoint based on your action. Important reports must be archived to save the inbox from getting crowded. You can see the archived reports in Archived.
You can also flag a report by clicking the Flag icon in Actions.
Go to Report >> Inbox.
Mark the reports that you want to flag.
Click FLAG.
When a generated report is verified, you can push that particular report to Approve. It helps you organize the reports. You can also approve a report by clicking the Approve icon in Actions.
Go to Report >> Inbox.
Mark the reports that you want to approve.
Click APPROVE.
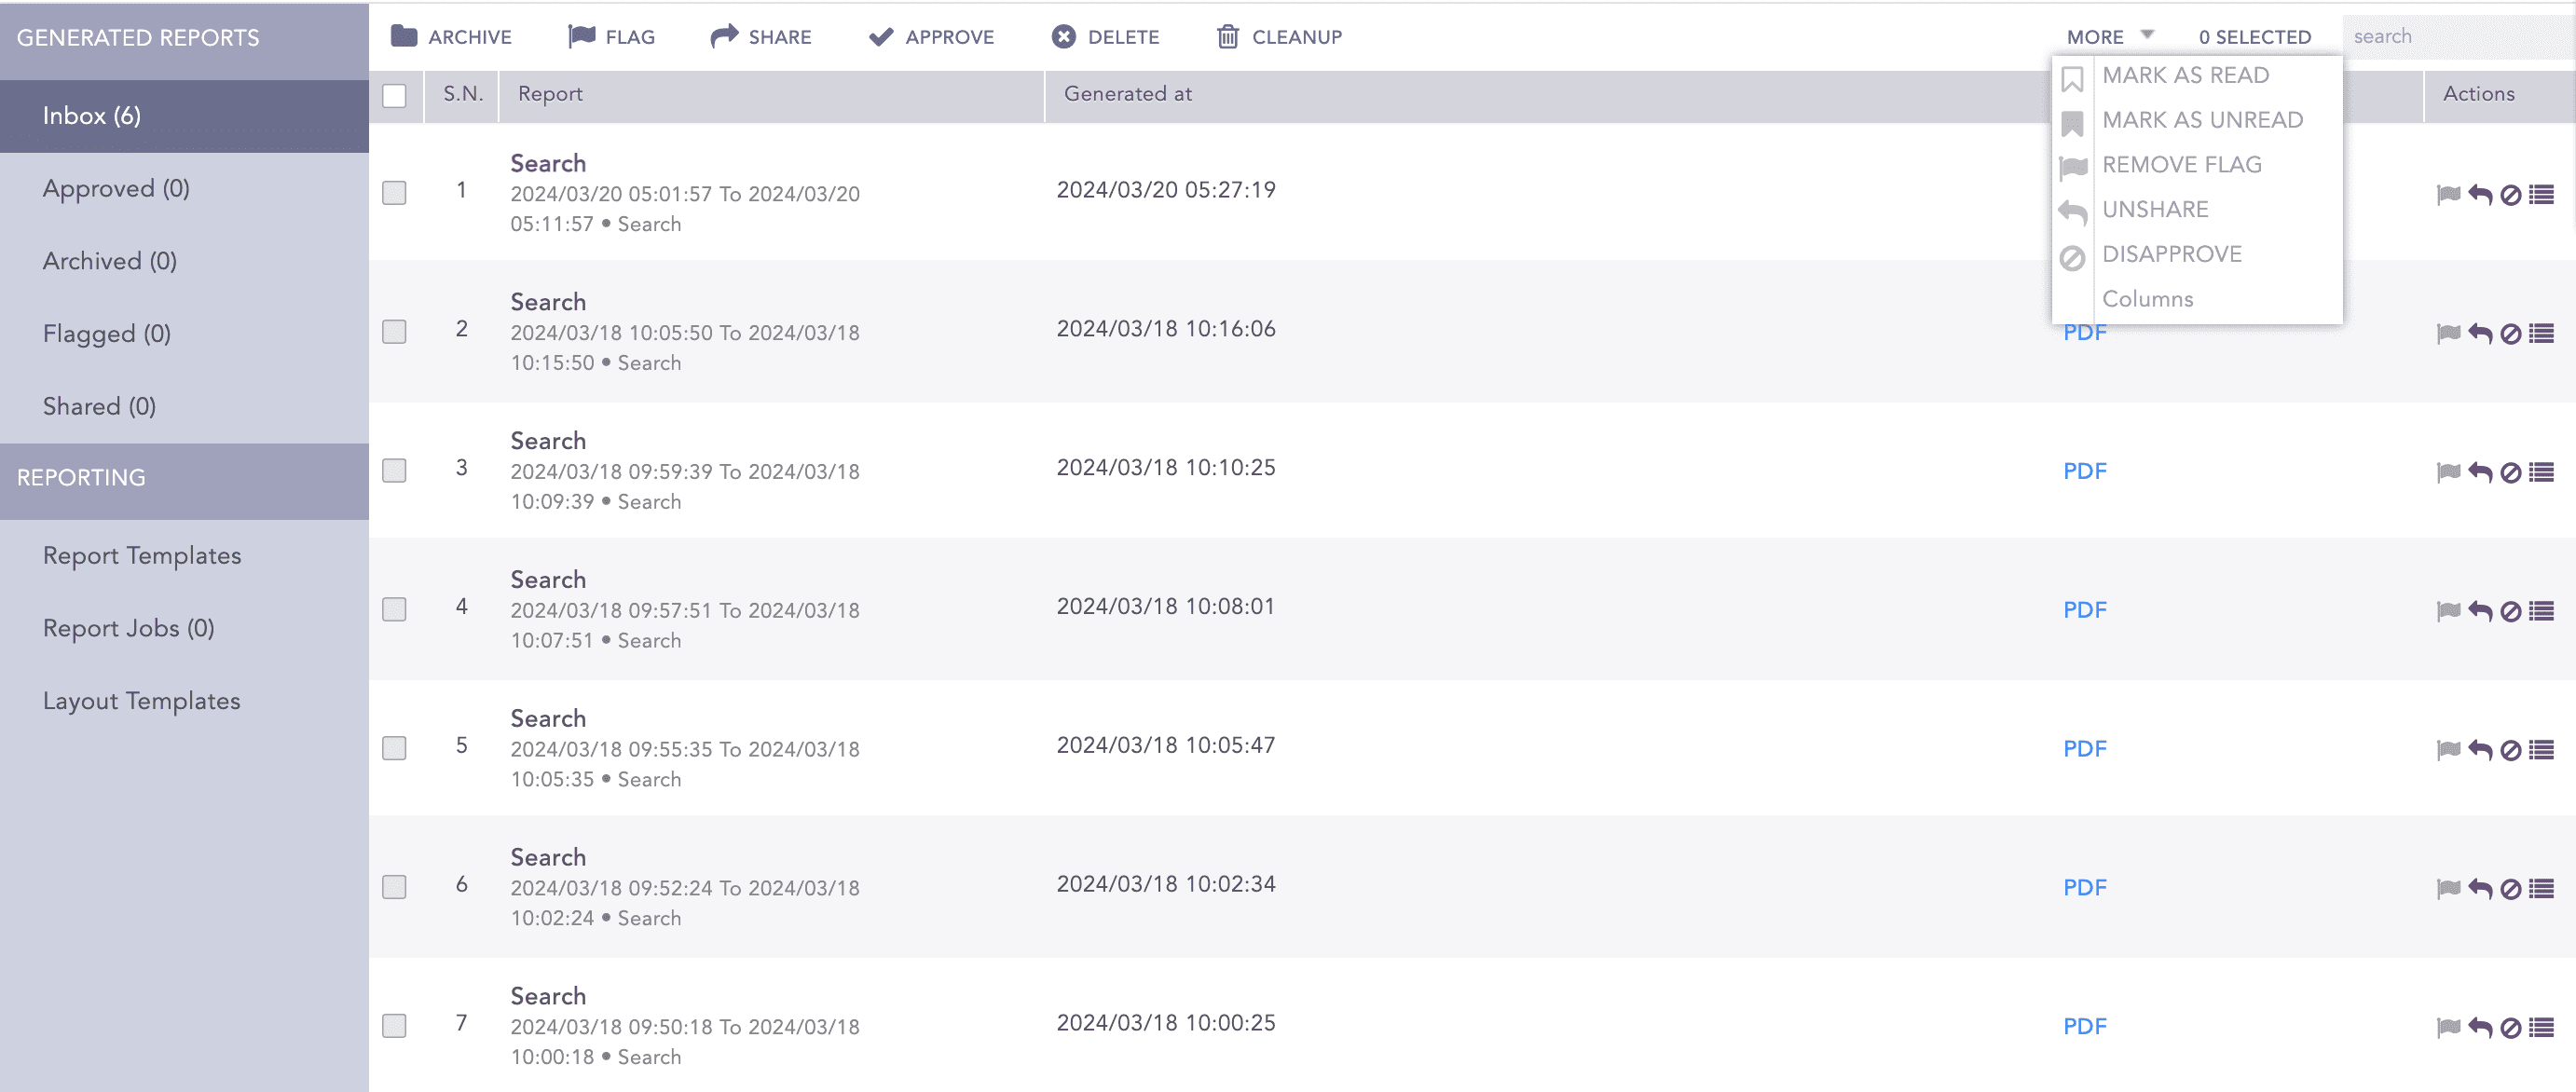
You can Mark as read, Mark as unread, Remove Flag, Unshare, and Disapprove a report from the dropdown.
Reports
Go to Report >> Inbox.
Mark the reports that you want to delete.
Click DELETE.
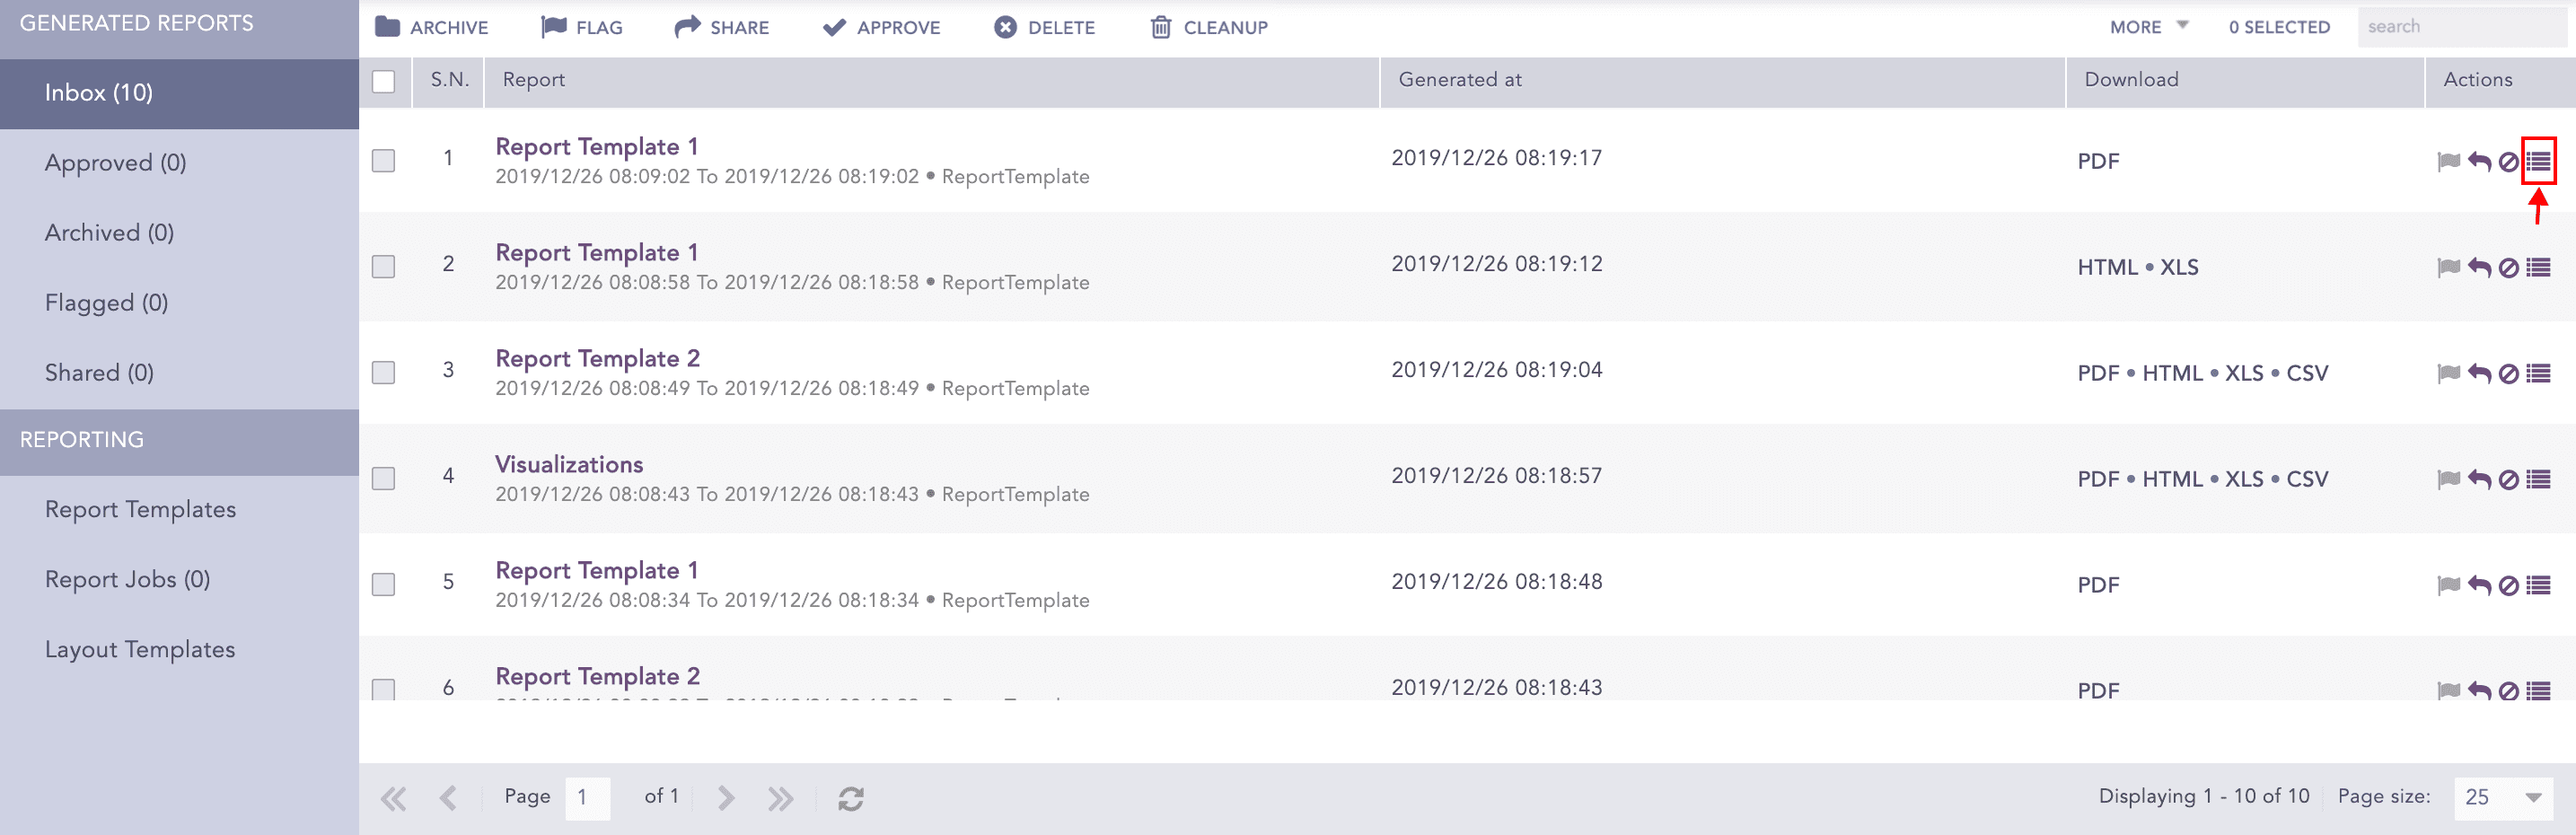
Using Activities in Actions, you can comment on a generated report.
Go to Report >> Inbox.
Click the Activities icon in Actions.
Reports
Enter a Comment and click Submit.
Using Cleanup, you can either delete the reports generated before a certain date or delete reports within a specific date range. Go to Cleanup Jobs to see the status of all the initiated cleanups.
Go to Report >> Inbox.

Reports
Click CLEANUP.
Select Older than to delete all the reports generated before the provided date.
Select a Date range to delete all reports within a specific time frame. All reports generated from the start date to the end date are deleted.